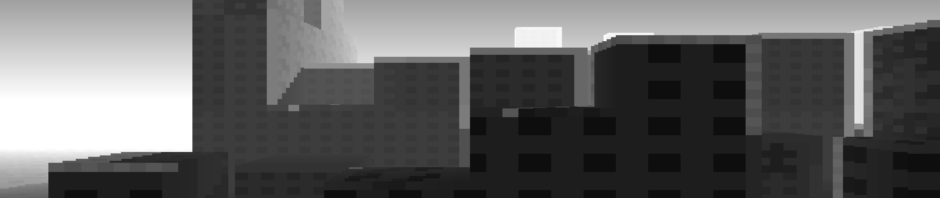
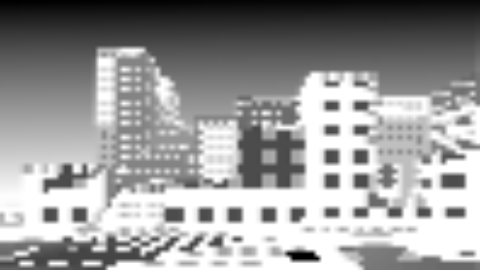
Hello size coding fans. Today, I have something amazing to share: A tiny raycasting engine and city generator that fits in a standalone 256 byte html file.
In this post I will share all the secrets about how this magical program works. Here’s my tweet that contains the code and a video of the output…
You may have already seen this post on my twitter timeline. After I originally released it about 2 years ago it ended up being one of my most popular tweets ever. Thank you for supporting this strange obsession of mine. Keep reading and I will try my best to explain how and why it works the way it does…
Introduction
This amazing program uses many different concepts in a very small space, understanding it is kind of like solving a puzzle. There are several main pieces including the html code, frame update loop, rendering system, raycasting engine, and the city itself.
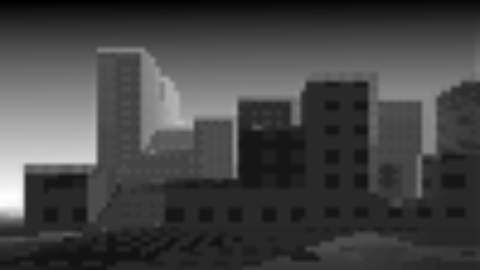
Here is a demo of the code running live in your browser…
You might think that it would require some advanced math to unravel this mystery, but actually no, the code is fairly simple and only uses basic algebra, not even any trig functions are used. Though there are a few tricks that allow everything to come together with an impressive result.
All Of The Code
First we can take a quick look at all the code before we dive in. This is not just a JavaScript snippet but an entire valid HTML program.
<canvas style=width:99% id=c onclick=setInterval('for(c.width=w=99,++t,i=6e3;i--;c.getContext`2d`.fillRect(i%w,i/w|0,1-d*Z/w+s,1))for(a=i%w/50-1,s=b=1-i/4e3,X=t,Y=Z=d=1;++Z<w&(Y<6-(32<Z&27<X%w&&X/9^Z/8)*8%46||d|(s=(X&Y&Z)%3/Z,a=b=1,d=Z/w));Y-=b)X+=a',t=9)>This is a crazy tight 256 byte block of minified code so it will take some work to make it readable.
The HTML Code
Let’s look at the HTML part of the code before we move onto the JavaScript. Here is just the HTML by itself…
<canvas style=width:99% id=c onclick=setInterval('',t=9)>It is just a canvas element with an onclick event. I splurged by setting the CSS width to 99%, though it still works fine without so there is some extra space to play around with for future remixes. The canvas id is set to c which gives us a way to access it from JavaScript.
The onclick event is what starts the program. The setInterval call is a bit of JavaScript that creates the update loop. The interval time is 9 milliseconds which is a little faster than 60 frames per second but close enough that it doesn’t matter. The time variable t is also initialized to 9 here to save space.
There is a slight bug that will occur if the canvas is clicked multiple times, the interval will also run multiple times causing it to slow down. It’s not much of an issue here but something to be aware of. There are several other ways to craft the HTML part of this code, each with their own tradeoffs. A normal script block works fine too, that would just require a little more space.
The JavaScript Code
Next up we have the 199 byte payload of JavaScript that runs when the canvas is clicked…
for(c.width=w=99,++t,i=6e3;i--;c.getContext`2d`.fillRect(i%w,i/w|0,1-d*Z/w+s,1))for(a=i%w/50-1,s=b=1-i/4e3,X=t,Y=Z=d=1;++Z<w&(Y<6-(32<Z&27<X%w&&X/9^Z/8)*8%46||d|(s=(X&Y&Z)%3/Z,a=b=1,d=Z/w));Y-=b)X+=aBreaking up the JavaScript
The first thing we’ll do is break up this code to make it easier to read. Whitespace is mostly ignored by JavaScript so we can rearrange things and add some extra space. Semicolons are usually not required to end a statement, so they are only used inside the for loop structure.
c.width = w = 99
++t
for (i = 6e3; i--;)
{
  a = i%w/50 - 1
  s = b = 1 - i/4e3
  X = t
  Y = Z = d = 1
  for(; ++Z<w &
    (Y < 6 - (32<Z & 27<X%w && X/9^Z/8)*8%46 ||
    d | (s = (X&Y&Z)%3/Z, a = b = 1, d = Z/w));)
  {
    X += a
    Y -= b
  }
  c.getContext`2d`.fillRect(i%w, i/w|0, 1 - d*Z/w + s, 1)
}
Stepping Through the Code
Ok, let’s walk through the code one line at a time…
c.width = w = 99 First we clear the canvas, set it’s width to 99 pixels and store 99 in w. This number will be reused many times. The default canvas height is 150 which works fine here, anything below what we draw just be left blank.
++tWe must increment the time variable once each frame to animate the scene.
for (i = 6e3; i--;)This loop will iterate using the loop variable i and ultimately determine the brightness of each individual pixel.
To do that we will fire a ray from the camera using the position of this pixel to control the angle of the ray. Then if something is hit, it will send the ray towards the sun to check if it is in shadow. It sounds more complicated then it actually is!
Getting the Camera Vector
First we need to get a representation of the camera ray that is fired from the origin.
a = i % w / 50 - 1The horizontal component of the camera vector is stored in a. We can calculate it from i by first moding i by the width which is 99. Then we divide by 50 to get a value between 0 and 2, and subtract 1 to normalize it between -1 and 1. Thankfully no parenthesis were needed which helps to save space.
b = s = 1 - i / 4e3 The vertical component of the camera vector is stored in b. So it is a similar calculation to a. The correct way to calculate the vertical percentage is to first divide i by the width, then take the floor of that, then divide that by the height.
However by accepting a nearly imperceptible slant, we can simplify and just divide i by half the number of pixels and subtracting 1 to normalize between -1 and 1. The value 4e3 was chosen to move the horizon below center. You can play around with these values to see how it effects the result.
Also, notice that s is being set to the same value as b to create a vertical linear fade in the background if nothing in the scene is hit. The value of s will eventually be used to control the shading of the scene.

Getting the Camera Position
To make the scene appear animated moving to the right, the time value t is used as the starting X position.
X = tWe must also initialize the Y and Z component as well as d which is used to blend in the distance fog. A value of 1 works fine for all of these.
Y = Z = d = 1Raycasting System
This inner loop is the most complicated part of the entire program, where the raycasting system steps until something is hit, then bounces the ray to check for shadows.
for(; ++Z<w &The condition part of the for loop does a lot of heavy lifting here so we will split it up into several lines for clarity. The first part just moves Z forwards one step until it goes too far, which for us will be reusing the variable w that is equal to 99. The X and Y variables will be updated inside the loop.
Checking The Building Height
This code represents the shape of the city. It is here that we create the buildings, alleyways, and beautiful beach side real estate. It is a very dense bit of code!
(Y < 6 - (32<Z & 27<X%w && X/9^Z/8)*8%46 ||To test if the ray is inside collision we check if the Y value is less than whatever the height is at that position. The city is formed by controlling the height for each XZ location
The 6 – part just moves the height result down below center and flips everything so the ground is on the bottom as it should be.
Inside the parentheses is where the real magic happens…
- Leave some space between the camera and the first row of buildings by making sure Z has moved at least 32 units.
- Create the side streets and seaside by checking that X mod w (constant 99) is more than 27. This periodically leaves empty gaps like roads that divide the city up into blocks. As an added bonus this always returns false for negative values, creating a serendipitous ocean.
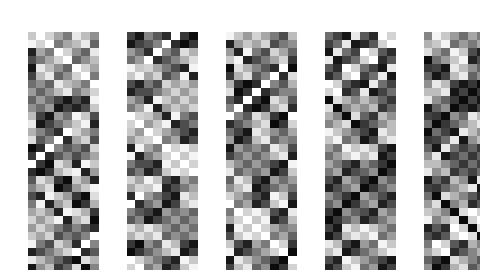
- Generate a noise function for the heights of the buildings using X/9^Z/8. The bitwise exclusive or function is used here to produce an interesting spread of values, giving a random feel the height of the buildings.
- The division is to scale it so the buildings will be 9 units wide and 8 units deep. Using larger units would increase the size of the buildings.
- The value of X/9 here is also related the the side street width being between 27 and 99, all of those numbers are divisible by 9. This prevents very thin buildings being created on the sides.
The result of everything in the parentheses ends up getting multiplied by 8 and moded by 46 which is the maximum height. These values were chosen after experimentation to produce an interesting variety of building heights.
We could just stop here without looping a second time and draw what we have using the Z value to fade off buildings in the distance.

Creating Shadow and Texture
If this code is hit, then the first test has passed so the ray must have collided with something. This is where we will get the texture of what is hit, bounce the light towards the sun to produce a shadow. It’s a little bit tricky because it’s actually two loops in one.
d | (s = (X&Y&Z)%3/Z, a = b = 1, d = Z/w));)The first part d | is to check if we are firing the ray from the camera or casting the ray towards the light to check for a shadow. We had already set d to 1 before the loop began, and end of this line it will be set to a value less that 1 which combined with the bitwise or will evaluate to false. This allows the loop to run a second time, moving towards the light to check for shadow. So if it is in shadow the next time this code is hit, it will exit the for loop and draw the pixel.
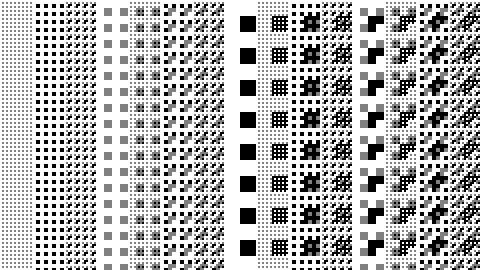
The grayscale texture value is stored in s and generated by using the & operator with X, Y, and Z and modding that by 3. This creates and effect that looks something like different types of windows. The result is also divided by Z to fade off the texturing in the distance.
To point the ray towards the light source both a and b are set to 1. This works great for a directional light source light the sun.
A fog value is stored in d by dividing the current Z value by w (99) which will is used to brighten the buildings in the distance. This same value of d is now guaranteed to be less than 1 signifying that we are testing for shadow as mentioned earlier.
X += a
Y -= b
Each component is updated to move the ray end point. The X and Y part is controlled by a and b respectively. The Z part always moves forward by 1, since the directional light is also in the direction of the camera it never needs to change.
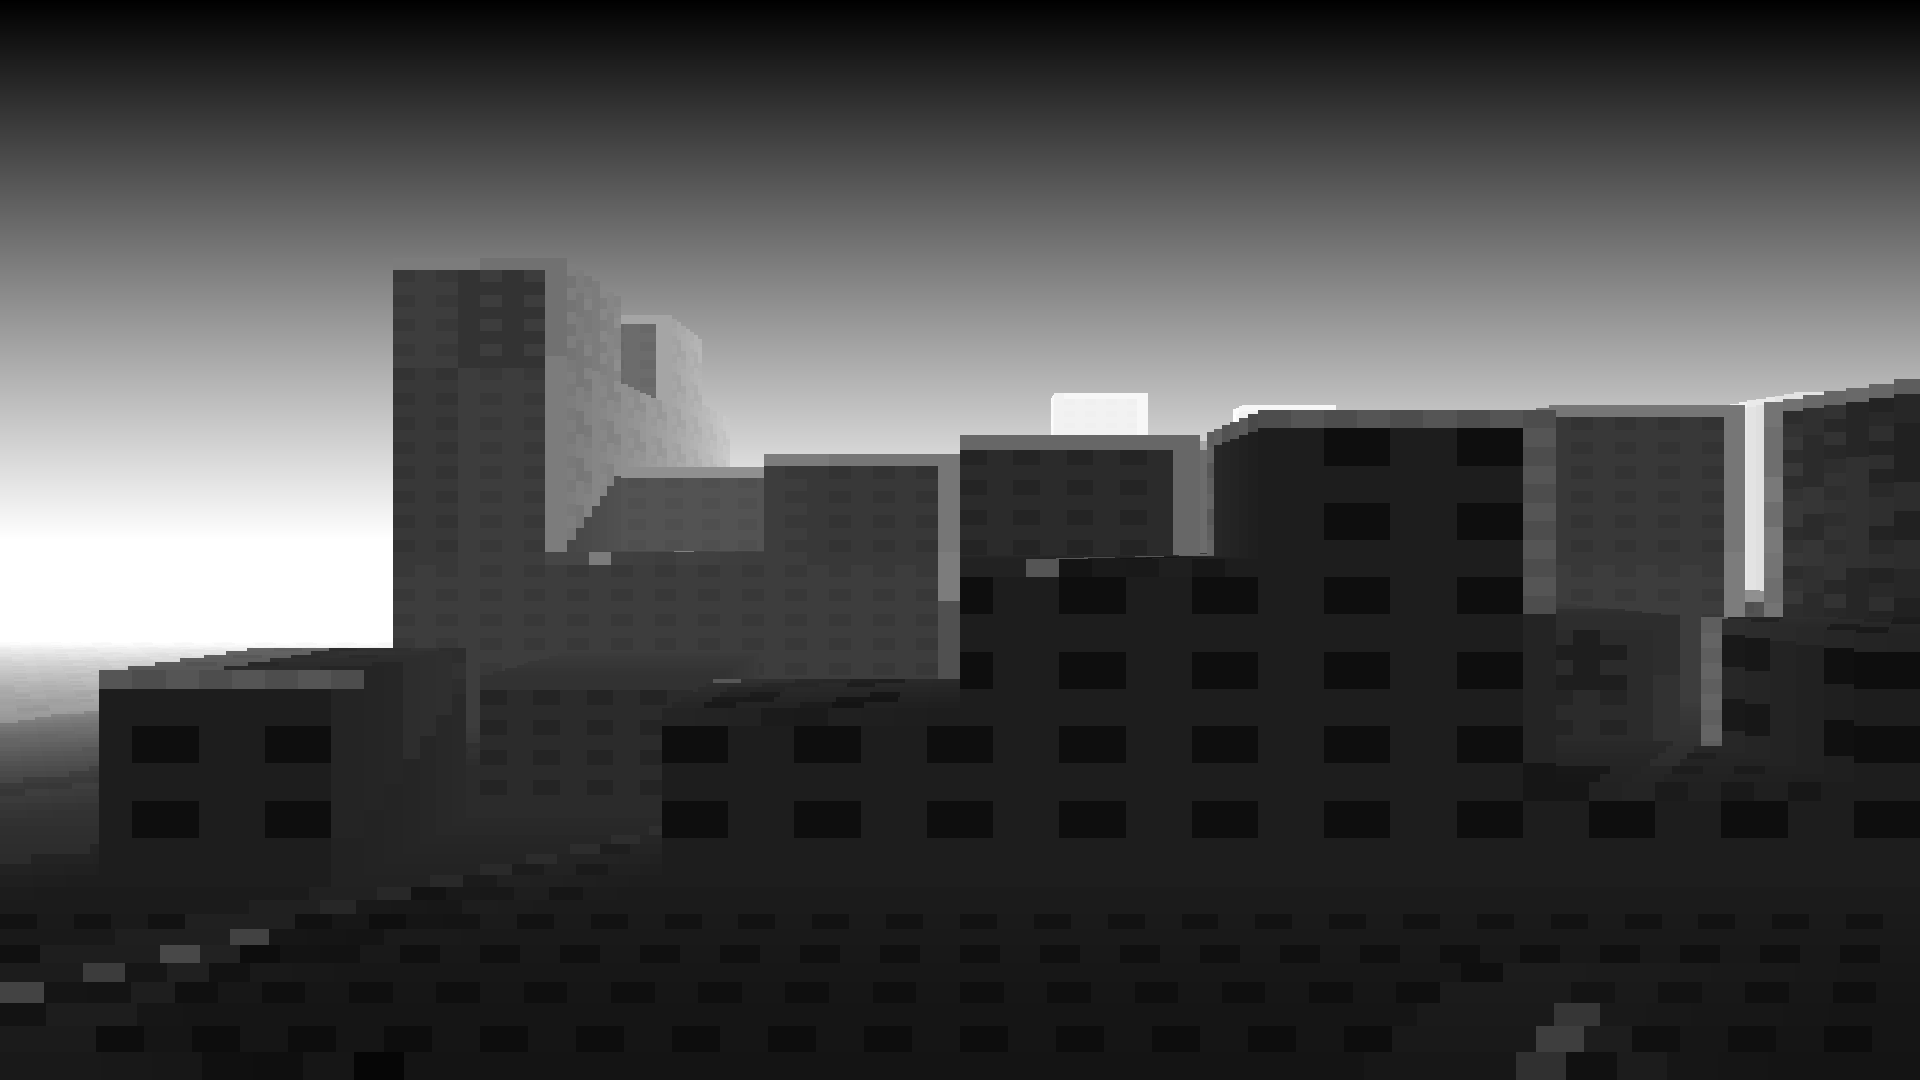
Drawing Each Pixel
Each pixel is finally drawn using a simple calculation of i to get the X and Y coordinates. The brightness is controlled by reducing the size of the pixel which is a very small way to create grayscale images one pixel at a time.
c.getContext`2d`.fillRect(i%w, i/w|0, 1 - d*Z/w + s, 1)There are several values that are combined to control the final grayscale value. A value of 1 here would be a black pixel and so we will be subtracting from 1 to create the image.

The fog value d gets multiplied by the current distance Z/w, which is how the shadows are created. If the ray is not in shadow, than it must have traveled the maximum distance of w so Z/w will be 1. Conversely if it is in shadow, than Z will be less that w causing that area to be darker. This actually creates a type of ambient occlusion because the closer the light blocking object, the darker the shadow.
Finally we add s to the result which is the texture of the buildings we calculated earlier. You an see how both of those important components combine to create a realistic looking scene.
Believe it or not, that’s the entire program! This tiny 256-byte raycasting engine and city generator demonstrates how much can be achieved with minimal code. I hope you enjoyed this deep dive into the inner workings of “City In A Bottle.”
Continued Learning
This demo was entered into the Revision 2022 demo party and is available on Pouet. It did not rank highly at the time because it was entered in the wrong category (oops) but I believe it stands as one of the most impressive 256 byte JavaScript demos out there.
Also, we have continued expanding this concept on Shadertoy where I worked with Xor and a few other coders to create a 256 byte shader that perfectly recreates the JavaScript version. It’s kind of amazing to see it run in HD at 60fps, check it out!
Lastly, Daniel Darabos made an interactive tool on observable that allows you to play with different aspects of the program in real time! – Decoding A City In A Bottle
Wrap Up
Thank you for following along this epic writeup. If you want to explore more, feel free to remix the code on Dwitter or just play around with it on CapJS. I’m always excited to see the creative variations and improvements that the community comes up with.
Stay tuned for more tiny cities and other projects! I’ll leave you with this cool little isometric rendering system I’ve been working on and shared recently. It works in a similar way to get the building heights and textures but without using raycasting.
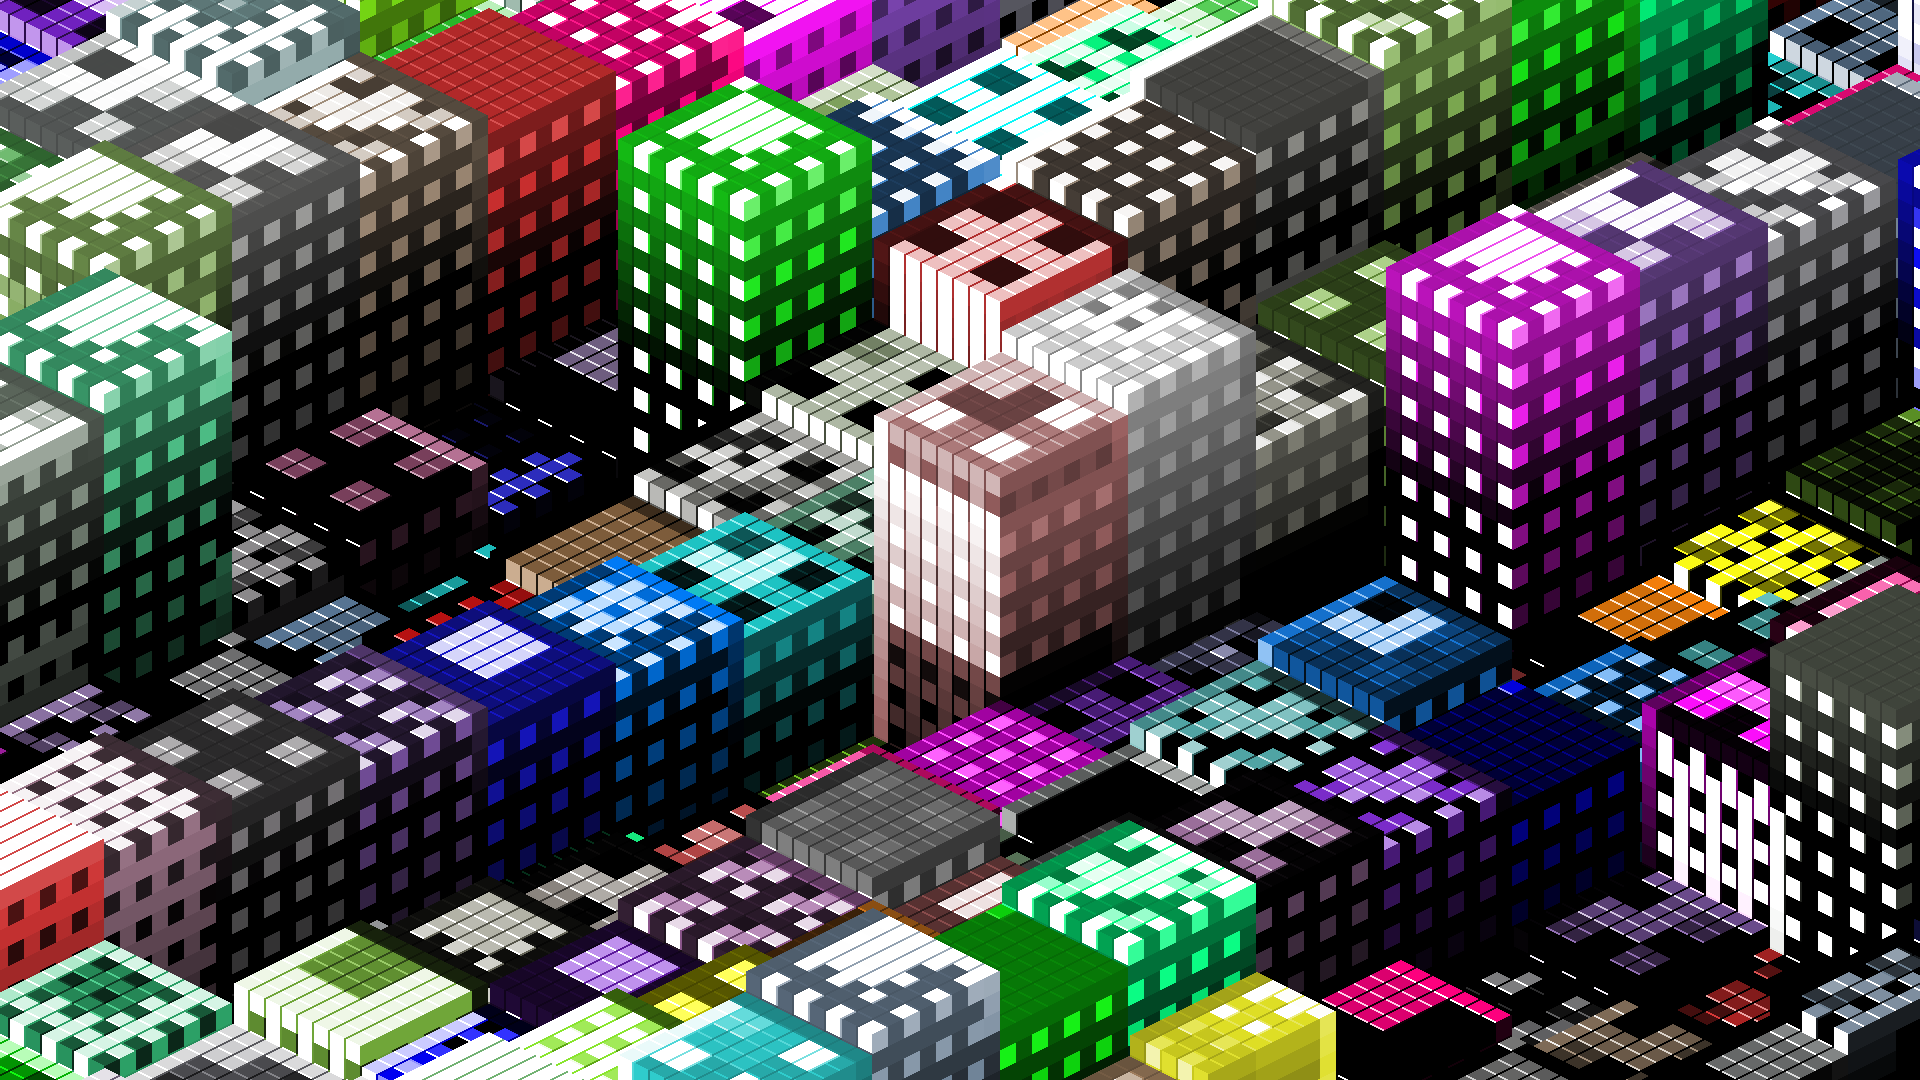
Keep coding, keep experimenting, and let’s continue to push the boundaries of what we can do with tiny code! Follow me on twitter more coding magic and other crazy experiments.


Pingback: Raycaster en 256 bytes – Tranquilinho
Pingback: MCS 0028: Mario Builder 64, City In A Bottle, Noisy Class – 10xlearner
Pingback: Stay ahead in web development: latest news, tools, and insights #34
Pingback: The Morning Brew - Chris Alcock » The Morning Brew #3947
Hi Frank. That’s wonderful and amazing!! You made me want to learn more about programming. Thank you. I want too to let you know that I came from [SC 2.4.4] newsletter by Eric Bailey your post featured there👌
Pingback: Game Dev Digest — Issue #235 – Rendering Tutorials, Physics, Community, and more – frontiercoders – Frontier Coders
Pingback: Lazy Reading for 2024/06/09 – DragonFly BSD Digest