Howdy, folks! Today we will be looking at the JavaScript code behind this amazing 3D tunnel effect. This code has an interesting lineage so we’ll also talk about some of the history behind it.
for(c.width|=k=i=960;z=--i;x.fillStyle=`hsl(0 99%${i/9}%`)x.fillRect(k-z*C(j=i/k+t/4)+S(m=k*j)*(r=1e5/z),540+C(m)*r-z*S(j),s=3e4/z*S(j*9),s)

Continue reading on for a full explanation of how it works!
The story of this dweet begins with a 1021 byte demo for JS1k 2013 titled “Strange Crystals” by Philippe Deschaseaux. He went on to win that contest! You can read more about it on his blog. Here’s a short clip from his demo, the full version is even better.
A few years later in 2018, “Strange Crystals v0.140” by BalintCsala was published on Dwitter. With some major simplifications it crushes the original 1k demo down to only 175 bytes which was made to fit in 136 unicode characters!
Another year passed, and Keith Clark posted this untitled dweet, which made a few more concessions to further minify it down to only 137 bytes.
This brings us to my version which is remixed from Keith’s. Here’s the actual dweet running live in an iframe, you can play around with the code while we talk about it!
As always, our first step is to reformat the code so it’s easier to read. I did that here by adding some white space and moving a few things around. I also added extra space to show the symmetry between the X and Y axes.
While doing that I noticed that the z variable is completely vestigial and can be safely replaced with i, so I did that to simplify and save another 2 bytes.
for( c.width|= k=i=960; --i; )               // clear & loop
x.fillStyle = `hsl(0 99%${ i/9 }%`,          // color
x.fillRect(                                  // draw rect
  k   + S(j=i/k+t/4)*i + S(m=k*j)*(r=1e5/i), // X axis
  540 + C(j        )*i + C(m    )* r,        // Y axis
  s = 3e4/i * S(j*9), s)                     // width, height
Now that the structure of the code is more understandable, we can start talking about it’s internal workings. Here’s a link to open this code in my custom JavaScript editor CapJS. It’s a little more user friendly then editing code in the iframe above.
Let’s take it apart it one line at a time…
for( c.width|= k=i=960; --i; ) // clear & loop
First we need to set up a for loop that handles drawing each square of the tunnel. We will be using the loop variable i which you can think of as the distance away each square is from the camera.
The c.width|= statement clears the canvas c which was created for us by dwitter. It does this by doing a bitwise or assignment with 960 which has relatively harmless side effect of changing the resolution from 1920 to 1984 pixels. Dwitter will automatically adjust the height so the aspect ratio stays fixed.
To prevent changing the width we could instead do c.width|=0 on a separate line, but that would require more space. This is a common code golf technique to clear the canvas using the fewest bytes possible.
Both k and the loop index i are initialized to 960. The value 960 will be used several times so it is stored in the variable k to save space. We will decrement the loop variable i for each iteration and also use this as the loop condition because we want the loop to stop when i reaches 0. This is also necessary to make the scene draw from back to front so farther away parts will be occluded.
x.fillStyle = `hsl(0 99%${ i/9 }%`,

Here is where we control the color for each square by setting the fillStyle on the canvas context x, created by dwitter.
Plugging in the loop variable i into the lightness parameter of an hsl color with fully saturated red hue produces a nice gradient starting from white through red to black. We divide by 9 because i starts at 960 and 960/9 is around 100 which is fully white.
Starting the fade from white creates kind of a fog effect with the default white canvas so the tunnel appears to fade smoothly in from the distance.
The hsl color string is built from a string template literal using the grave accent characters along with some minification tricks to avoid the need for commas or a closing parenthesis. Just be aware, this technique may not work in some browsers!
x.fillRect(
The basic building block for this scene is x.fillRect which we will use to draw squares on the canvas context x with the color we just set.
k + S(j=i/k+t/4) * i + S(m=k*j) * (r=1e5/i), // X axis
This is the trickiest line of code so we will break it up even more…
k // center on X axis
It starts by using k (set to 960) to center it on the 1920 pixel wide canvas. Well, technically the canvas is now 1984 pixels wide as I mentioned earlier but it doesn’t need to be in the exact center. You wouldn’t even have noticed if I didn’t say anything!
+ S(j=i/k+t/4) * i // tunnel curve
This statement makes the tunnel curve over time rather then continuing straight ahead. Using the sine function S gives the tunnel a wavy curve that spirals around.
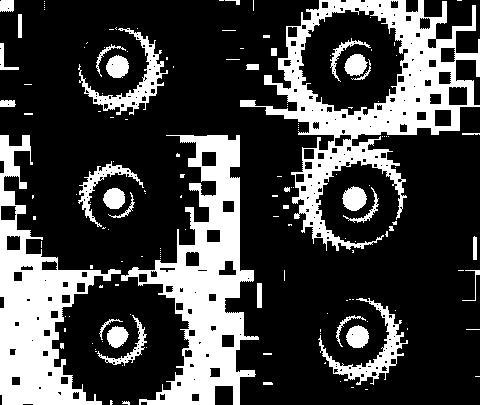
First we divide i by k to normalize it between 0 and 1. To make it change over time we can add the time variable t which is passed to the function. To slow down the movement we divide t by 4.
The result of the sine function is between -1 and 1 so we need to scale it by i to both make it larger and curve more as it goes further out. The animation to the right shows what it would look like without a curve.
This value is passed to sine and saved in a temporary variable j so it can be reused for the next part and the Y axis.
+ S(m=k*j) // tunnel wall
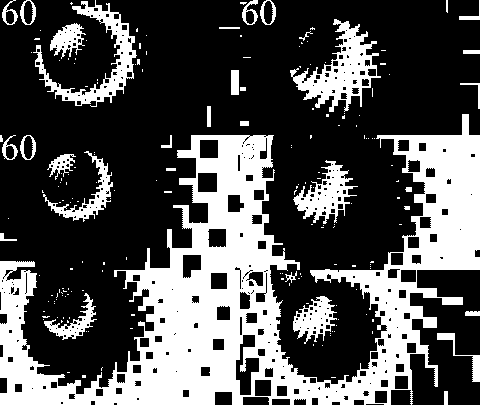
This part is what creates the circular walls of the tunnel with a little bit of math magic. To help understand we need to apply basic algebra to the statement k*j by substituting k and j from earlier to get 960*(i/960+t/4). Distributing the 960 reduces to i+240*t which can also be written as i+4*60*t, which is still equal to what we started with, k*j.
Pay attention to the 60*t because it is the key to the whole puzzle! The frame rate is 60 fps, so multiplying by 60 is necessary to prevent the tunnel from spinning. The animation to the right shows how the effect looks completely different when this value is changed just a tiny bit from 60 to 61. See if you can understand why just adding 1 here causes it to rotate 4/60 radians per frame which over half a turn per second.
Again the result is stored in a temporary variable m for the Y axis.
* (r=1e5/i), // tunnel wall radius
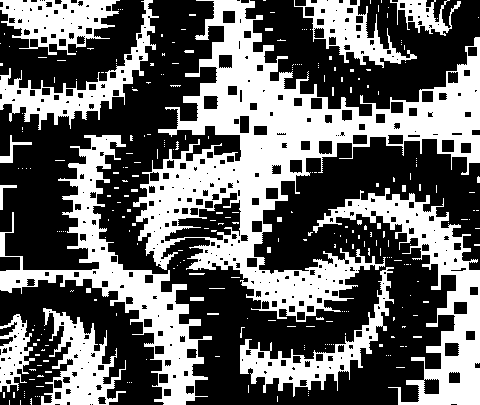
Here is where we apply perspective effect to make the tube appear smaller as it extends from the camera, by multiplying by 1e5/i. Don’t worry, it wont divide by 0 because the loop will end before i reaches 0! You can think of this part as the apparent radius of the tube when projected onto the screen.
This value 1e5 (100000) can be increased to make the tube even wider like in the animation to the right. The e5 is scientific notation means multiply by 10 to the 5th power, a way of expressing very large or small numbers in code.
For the third and last time we will store the result in a temporary variable r for the Y axis.
540 + C(j)*i + C(m)*r, // Y axis
Now that we’ve done the X axis, the Y axis is easy. The canvas is 1080 pixels tall so we use the constant 540 to center, and plug in all the temporary variables j, m, and r while swapping sine S for cosine C.
By using sine and cosine for the X and Y axes with everything else being the same is how we can create circle and spiral shapes like this tunnel.
s = 3e4/i * S(j*9), s) // width, height
Here is where we control the size of the squares. The first part 3e4/i applies a perspective transform similar to the position, so the squares get smaller as i increases.
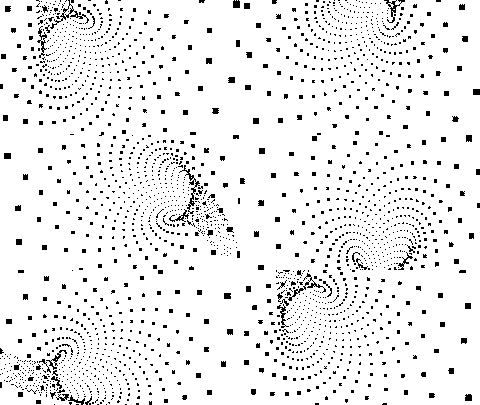
Finally we have arrived at the “shattered” part of the tunnel. The animation to the right shows what it would look like without the shatter, and the square size decreased so the tunnel’s form is more visible.
Applying S(j*9) causes the size of the squares to vary with a sine curve over time, creating the interesting gaps where you can see through to further ahead parts. To make the gaps tighter we scale j by 9. Different values can be chosen to change the appearance. This result is stored in the variable s so it can used as both the width and height and draw a square.
Let’s take one last look at the full code for the dweet. With the improvements from earlier it is only 138 bytes total…
for(c.width|=k=i=960;--i;x.fillRect(k+S(j=i/k+t/4)*i+S(m=k*j)*(r=1e5/i),540+C(j)*i+C(m)*r,s=3e4/i*S(j*9),s))x.fillStyle=`hsl(0 99%${i/9}%`
That brings us to the end of another dissection! Feel free to go ahead and play with the code and make your own creation. If you enjoyed reading this, the best way to show your support is by following me on twitter @KilledByAPixel. I post cool new creative code stuff all the time!
I will leave you with a remix that is even smaller, only 105 bytes. I wanted to make something that looks like an exploding supernova. The very astute of you might be wondering how I made into a one second loop… That’s a good question, but I need to keep some secrets. See you next time!


This is beyond awesome!!!
Looks amazing!
Pingback: Adventures in Tiny Coding – My 2019 In Review | Killed By A Pixel