My latest generative art release uses a special raymarching system I designed to render realistic abstract sculptures. It’s called Rad Impressions!
Keep reading to learn the story behind the art…
The story behind the art
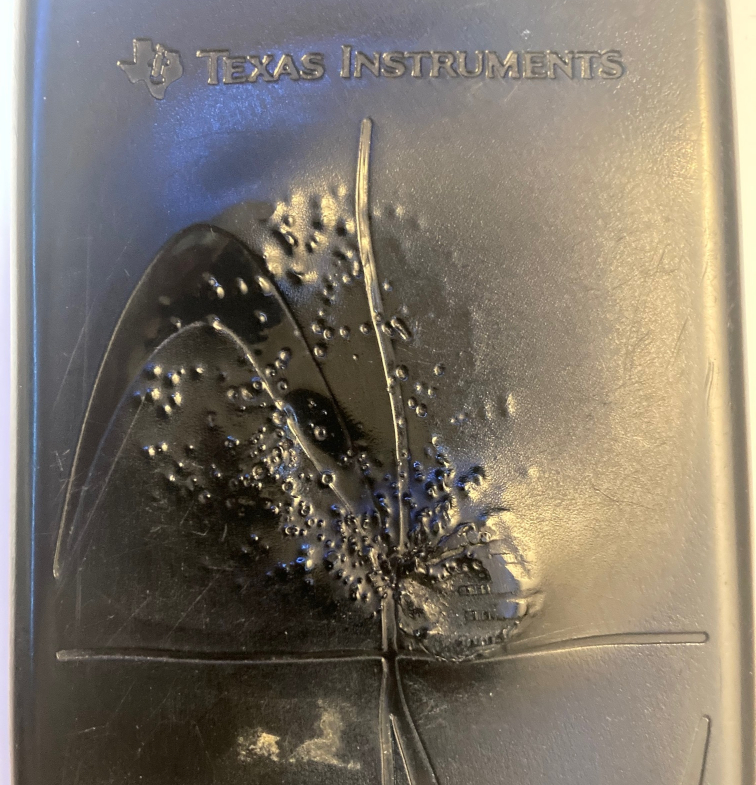
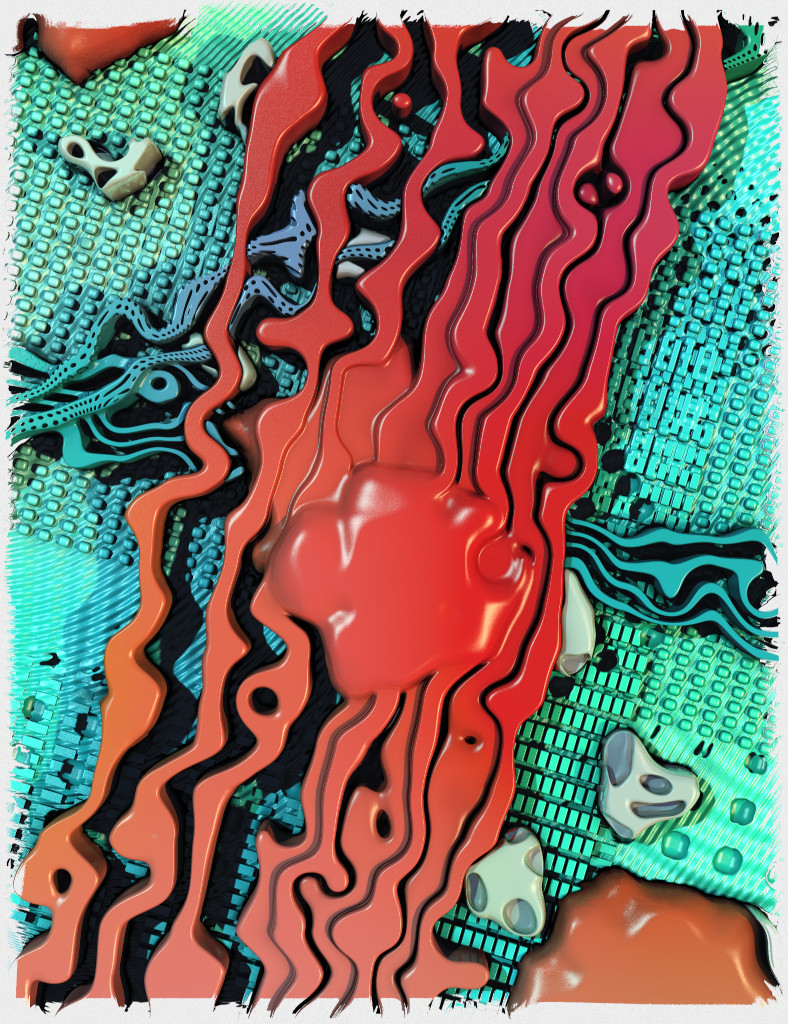
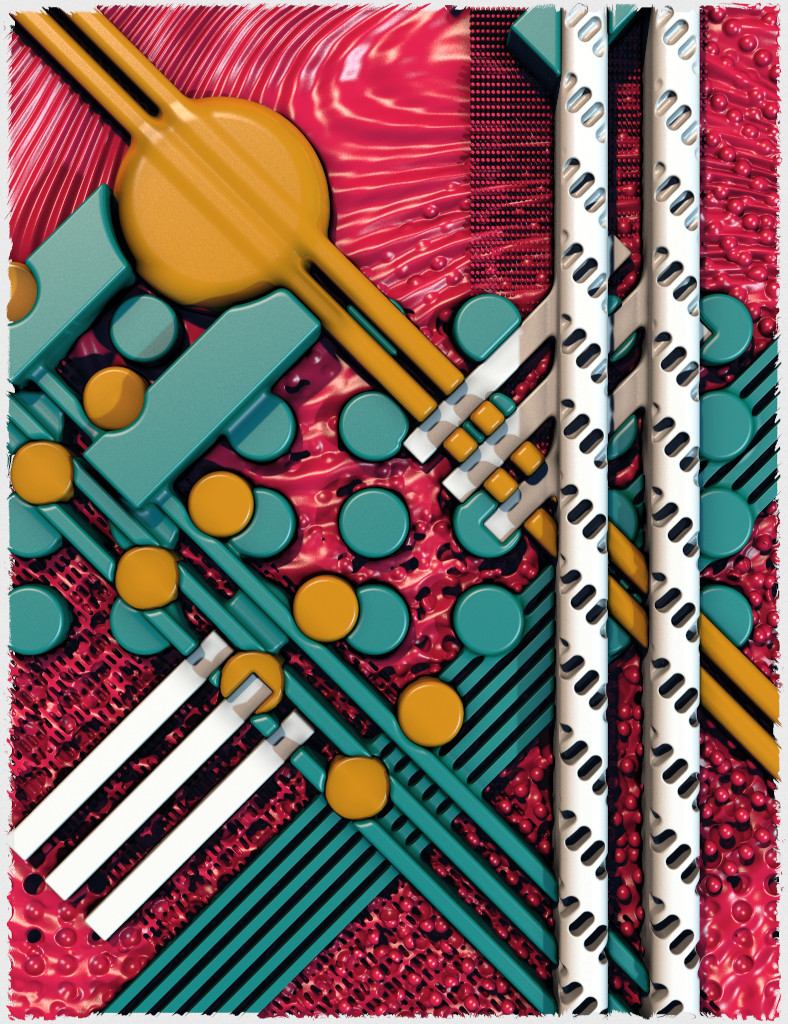
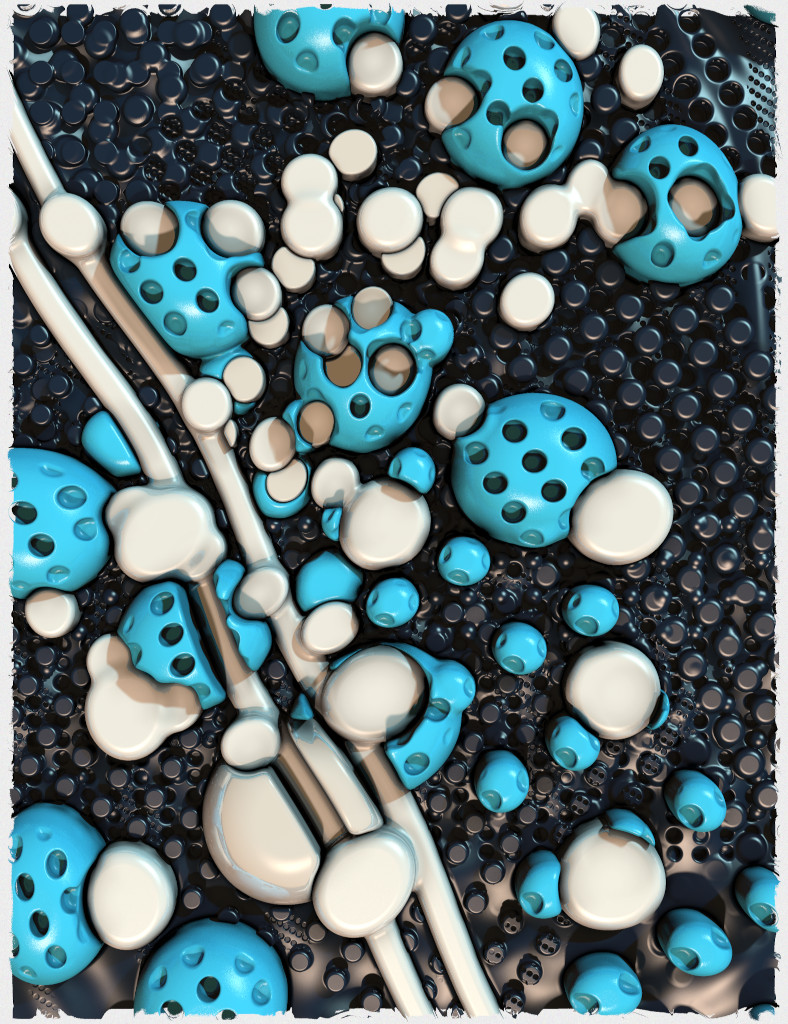
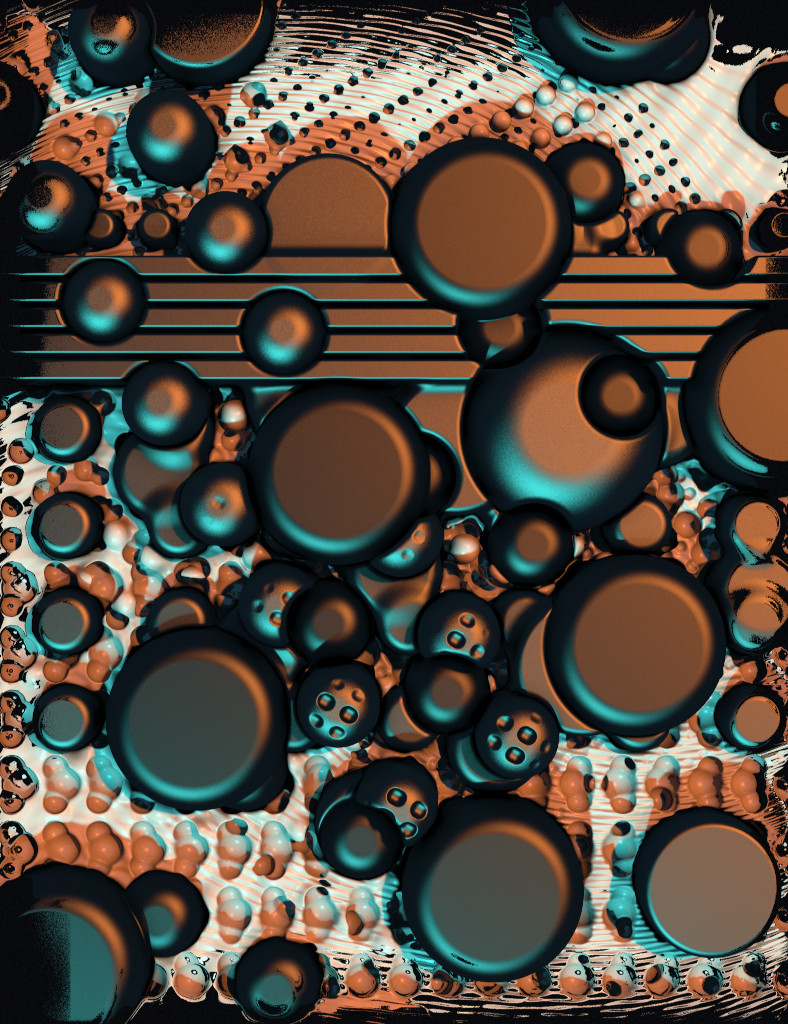
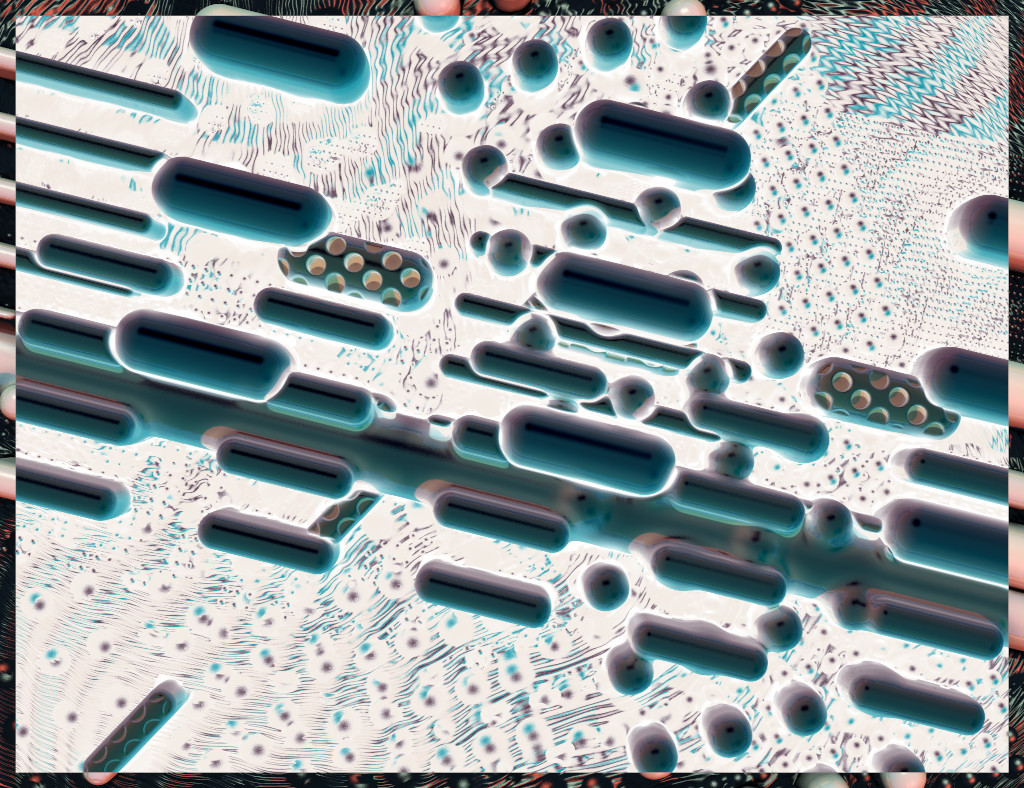
As an artist, Rad Impressions was one of the most challenging and complex art projects I have ever released, and probably took the longest too. I spent around six months working to build the tech and experiment with many iterations of the generative composition. The project was inspired by a simple idea that occurred to me about 20 years ago while studying in college. I left my TI-86 calculator on some books piled high under my desk lamp. In those days light bulbs could get extremely hot, not like the cool LED lamps of today. My calculator melted under the heat revealing a rippling bubbly surface with a glossy finish. Recently, I became interested in trying a similar approach with a generative composition using raymarching, and this was the perfect opportunity.
My basic idea was to generate sculptures composed of repeating imprinted geometric shapes and write a custom 3D rendering system that could produce realistic HD renders. This required creating all the technology from scratch as well as all the generative art creation. I have been wanting to try a 3D shader rendering for a while. It wasn’t until the middle of last year that I went down the rabbit hole of raymarching, learning mostly from reading Inigo Quilez’s articles and studying code on Shadertoy. I even released a dweet to test out some of my ideas.
The biggest help for me was creating a software rendering system using only JavaScript rather than shaders typically used for raymarching. Though it is pretty slow, it allowed me to step through the code and see exactly how it worked much easier. Next I added the ability to create WebGL shaders. I have used these often in the past and was able to quickly add features to put it in parity with the JavaScript side. To create the shaders it dynamically exports the entire scene, materials, lights and parameters into a shader that can render in real time.
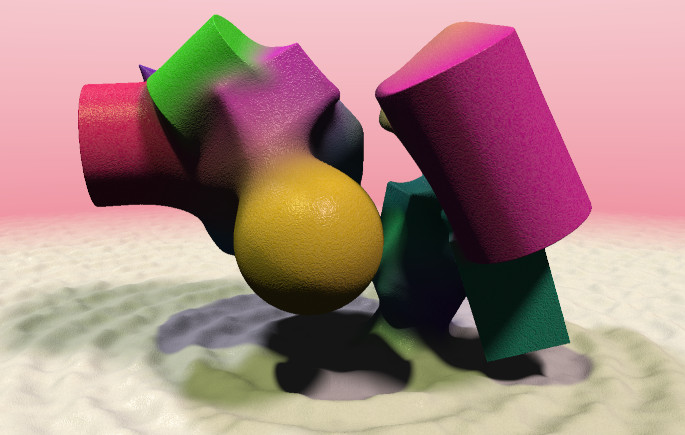
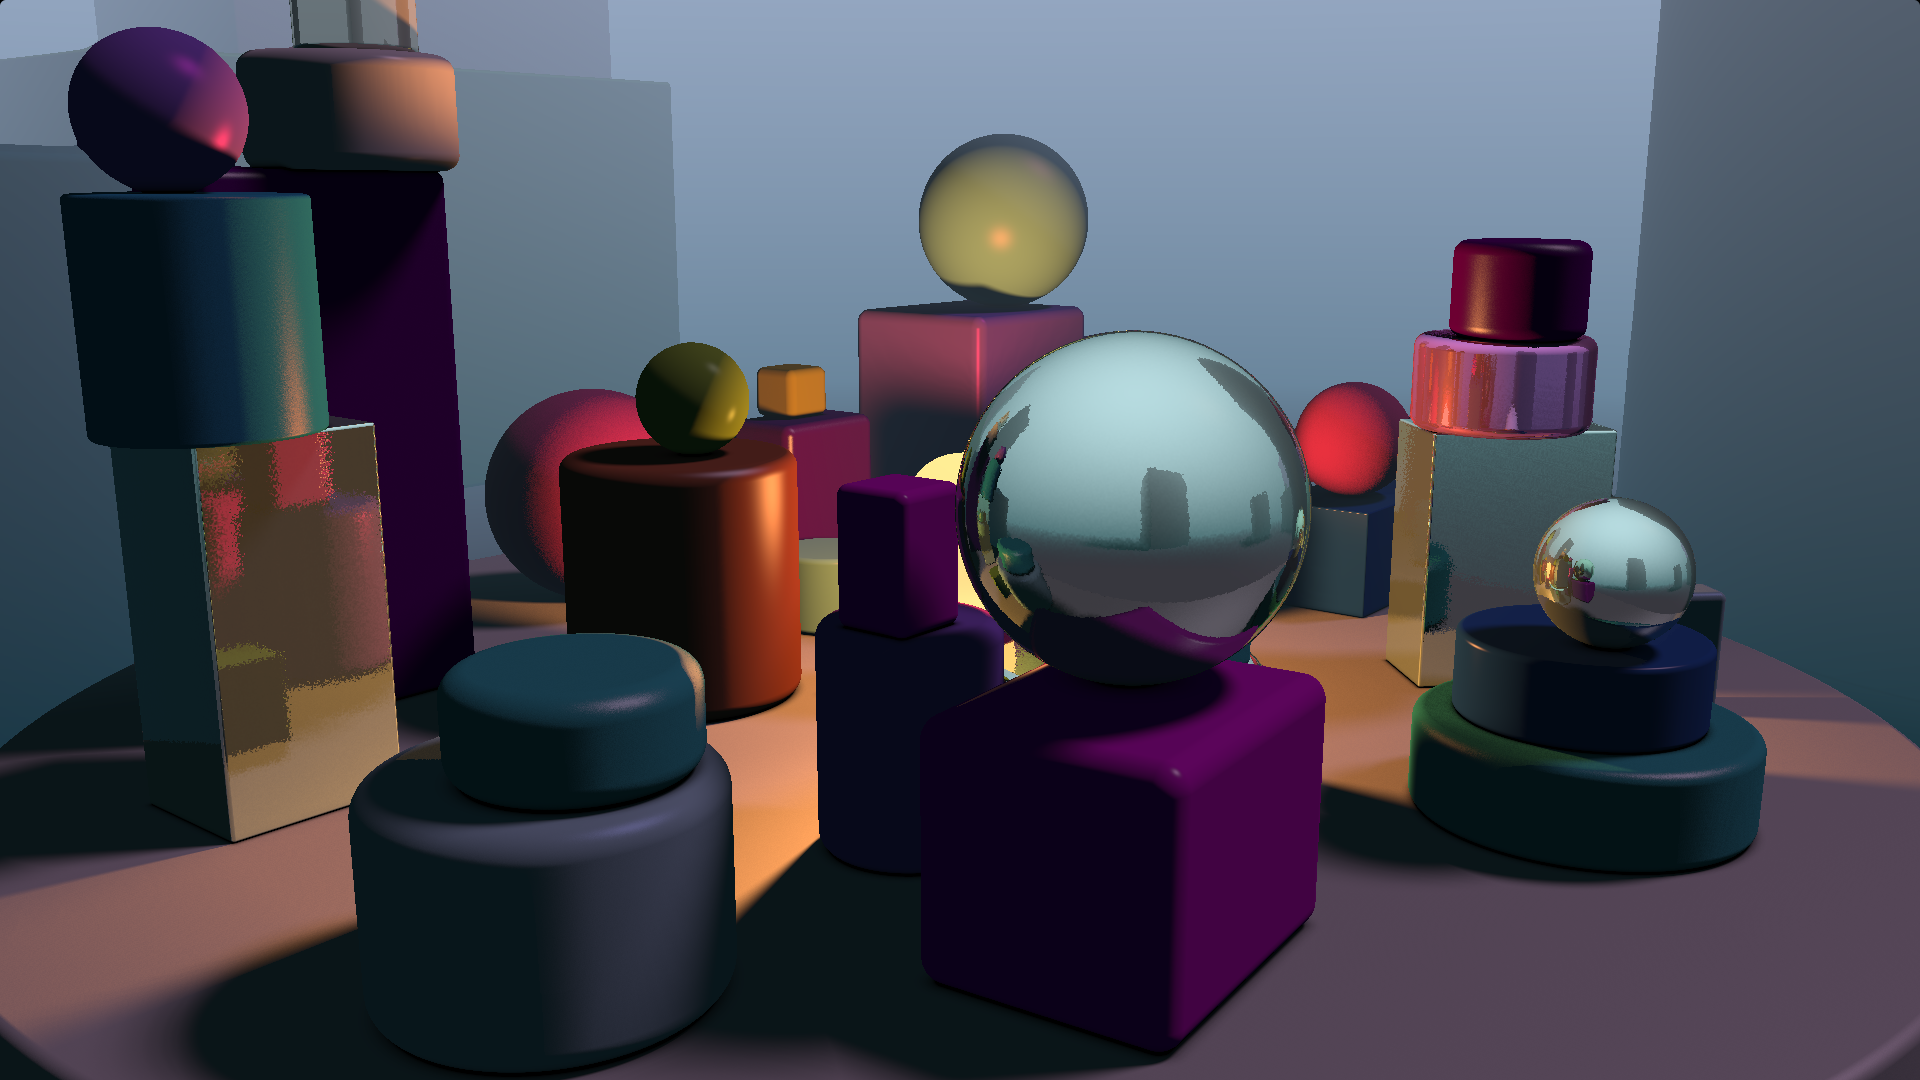
The tech I used for this project is called raymarching, first used as a demoscene effect in the 90’s. It uses simple functions called signed distance to describe shapes that can be warped or melted together. My implementation has some pretty cool features including multiple soft shadow casting lights, ambient occlusion, reflections, roughness, specularity, and spatial warping. The impressions are made using signed distance field geometry with smooth blending between shapes. One of my goals is to open source the rendering tech sometime next year. For now I have released a demo showing off some of it’s capabilities.
Using a raymarching approach to rendering is pretty cool, it lends itself well to realistic lighting with curved surfaces and soft shadows. However one of several drawbacks is the slow shader compile time. At one point it was taking over a minute to compile which made the iteration process painfully slow. I realized that most of that was caused by the compiler inlining code, a process where functions are duplicated to improve speed while making the shader larger. But in this case it was causing the shaders to balloon in size making them slow to build. To solve the problem I refactored the shader, trading a little bit of rendering speed for a greatly improved build time. By the end, the iteration time was down to under 10 seconds.
Fitting the code into 20 kilobytes uncompressed was a challenge itself. I used Closure Compiler and Terser to minify the JavaScript, but I had to hand minify all the WebGL shader stuff. The final size is right on the limit with very little room to spare. This had some major impact on the design choices as I had to simplify everything as much as possible. For example this is why the only shapes used are squares, cylinders, and spheres. In the future, a way to compress the code is worth investigating, a zipped version would be less than half the size.
The abstract composition itself went through many significant changes during development. It started with the frame being incorporated into the work itself as a 3D element that could receive and cast shadows. I experimented with that for a while but eventually found a more fun way to play with the borders of the work by domain warping the colors through a fractal noise function. This creates something like a brushwork effect as different colors taper off at the border. I also reduced the number of lights from ten to two to make each light more powerful and improve rendering speed. During development, I ran daily tests of 100 iterations, producing over 5000 outputs in total.
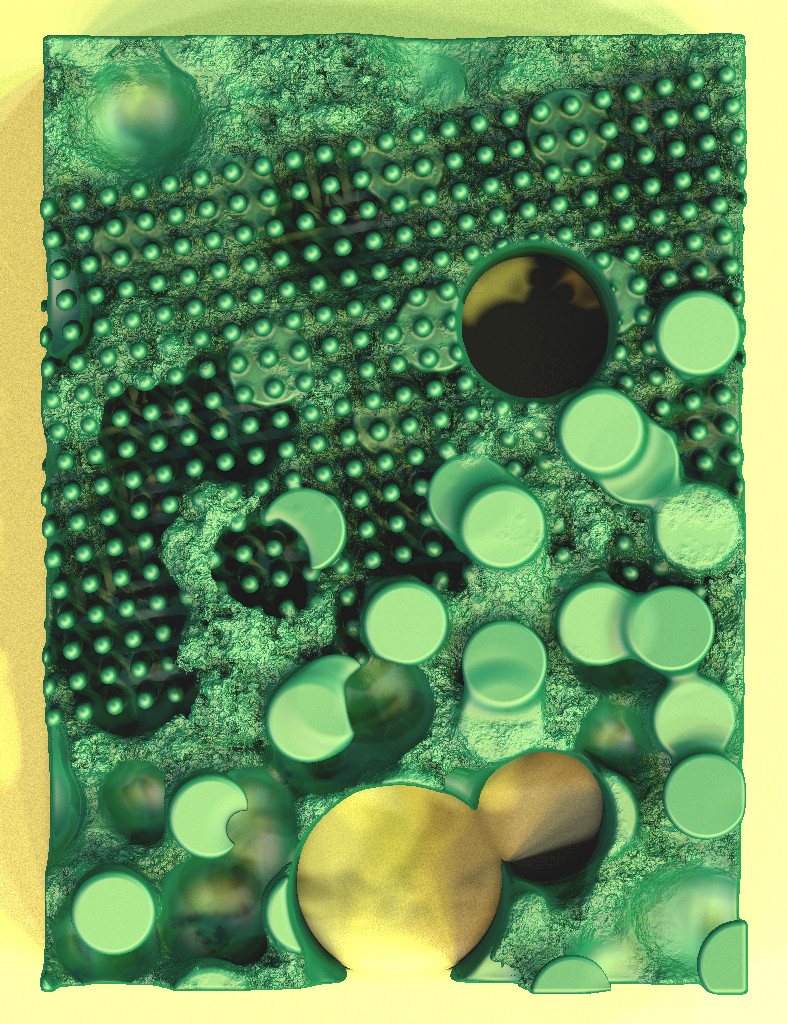
Balancing all the different colors that contribute to the final color profile of the piece was one of the most challenging parts of the project. After experimenting with many settings, I settled on having two separate parameters for color: the surface color and the lighting colors. The color palette for the surface of the materials is dynamically generated from a limited range of possible colors. However, the final appearance can vary greatly depending on the lighting setup composed of two different colored lights aimed at steep opposing angles.
To assist in printing the work, the live version includes some special url options. The settings are “aa” for anti aliasing, “scale” controls how many times the base size, “aspect” can be tweaked for a custom frame, and “nofx” which disables most post effects. To enable any of these add a ?[setting]=[value] to the url. These can be chained with ampersands, for example to get a poster size print you can use “?aa=4&scale=6&nofx=1” You can even use a landscape aspect or just rotate it, feel free to experiment with what works best for your chosen display.
The special project has taught me so much about programming and generative art. Thanks for taking the time to read about the story behind it. Also I want to thank the 256ART community and organizers for your support and feedback while it was in development. Together we will continue to push the limits of what is possible with generative art!
Follow me on twitter and check out the Rad Impressions gallery at 256art.com!


